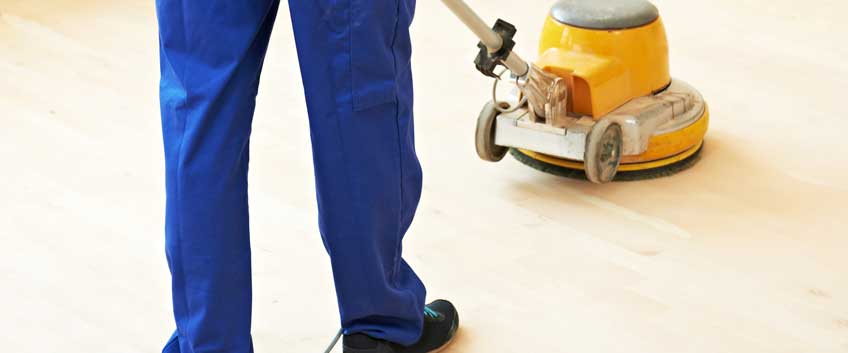
Hands down, wood floor refinishing is highly beneficial and usually a serious selling point, because who doesn’t want a floor that can look brand new even decades after installation? Wood floor refinishing’s advantage is not only the improvement of the condition and appearance of the floorboards and the additional protection it ensures but also the freedom and flexibility to have your hardwood flooring refreshed and renewed even when it looks super worn out, sad and tired.
Today we have decided to share with you the 10 top tips, tricks and secrets of the perfect, smooth and effective wood floor refinishing, so stay tuned and keep reading, no matter if you attempt a DIY project, or you hire professionals for the job!
Renting the tools
If you are a DIY enthusiast, you are most probably going to want to re-sand and refinish the wood floor by yourself. It is understandable if you do not possess all the required and needed tools for the process and there is no point in splurging and buying them, considering the fact you can simply rent sanders and dusters from the local store or showroom, save a lot of money and do not worry for finding some extra storage space.
Choose a finish
When it comes to wood floor finishes, you are spoilt of choice. Generally, if your floor has already been finished, it is recommended to use the same type of finish after sanding. The most popular finish options are polyurethane, varnish and penetrating sealers. The one you choose is determined by your needs and the final effect you are looking for.
Sheepskin applicators
For a smooth finish and uniform coverage, the best tool you can use is a sheepskin applicator to apply the finish.
Plan your schedule
For achieving perfect sanding and refinishing results, keep in mind that things are simply not going to happen overnight, so do not rush them. Be sure to leave yourself enough free time. We recommend you seal your floors the day you re-sand them to add instant protection to the wood. In addition, right after sanding the pores of the wood are open and the sealing product will penetrate easily.
A wood floor for life
Many people do not know that if maintained properly and regularly, your floor can last up to a century. In addition, even boards that look extra-aged and tired can be transformed into brand new with simple sanding and refinishing. Depending on the thickness of the wood, you can re-sand and refinish up to 10 times.
Sanding is not always necessary
Some wood flooring professionals might tell you the opposite, of course, they need to sell their service. However, sanding is not always a necessity, even if you look at really sand and worn wooden boards and believe the opposite. Sometimes recoating the finish is just enough for a fresh look, other times the worn appearance comes from the old finish, not exactly the bare wood underneath it.
Avoid oil
Generally, oil-based soaps are not the best idea when it comes to renovating, because you are going to need to remove them using ammonia of a sturdy, industrial cleaner before starting with a sanding and refinishing project.
Buffing and cleaning
Buffing and cleaning are a necessity that is always required between the application of the finish coats.
Do not throw the sawdust
The excess dust you will be left with after sanding needs to be removed, but do not throw it away, rather keep it for filling in the gaps between the boards.
Professional help
Finally, if you do not feel ready to start a wood floor refinishing project yourself, you can always count on the professionals.